
Breaking the figure down into basic shapes is the most important starting point to create a sound foundation to build the details of the model onto. Without a sound foundation the whole drawing will start to break down as the detail is introduced and it is much harder to correct the further into a drawing you get!
For this exercise, I started out by doing a lot of timed poses, ranging from 1 min to 5 mins to get a nice feel and routine for putting together a sound basic form without going into too much detail. I used reference models from The New Masters Academy on Youtube, :https://www.youtube.com/user/NewMastersAcademy which gave 25 minuets of a model changing poses from 1, 2 and 5 minuets. I found this very helpful as I was unable to get hold of a model at this time.
Here are some progressions over a few days drawn in my A3 sketch book,
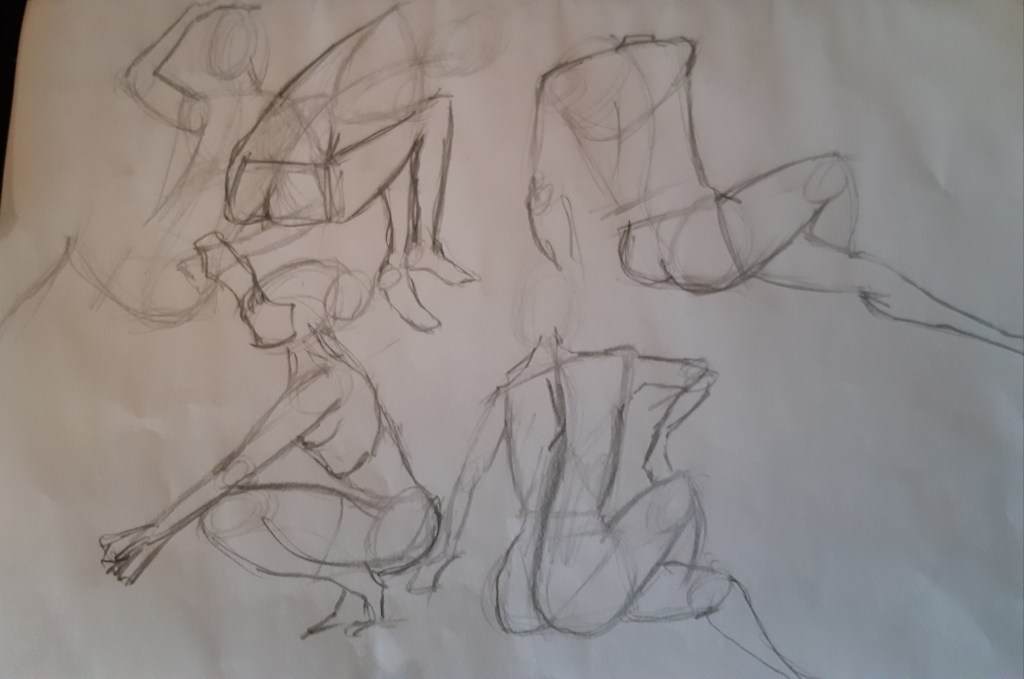


Quick poses, 4B graphite pencil, A3 cartridge paper.
I started to use a routine which I started all the figure with which was first to position the head and a line to indicate which direction the neck was positioned. Then the shoulder angle followed by the central axis. an upside down triangle from the corners of the shoulders to where the breast bone would be and two other lines in reflection to suggest the rib cage.

Creating a rough ‘x’ shape I could then join the corners to form a box to express the torso paying close attention to the angles of the shoulders and the bottom of the torso just above the navel.
I then added the line of the top of the abdomen, angle of the bottom and joined that up into a box which was guided by the central axis, helping me locate the pubic bone so I could start to position the legs and then move on to add the arms. Using this method I could just about manage to express the majority of the form in a minuets sitting once I got used to it so I didn’t have to think too much about it allowing me to concentrate on the actual figure.
From here, I tried out a few different angles of the pose above including an above shot that gave a good sense of foreshortening.
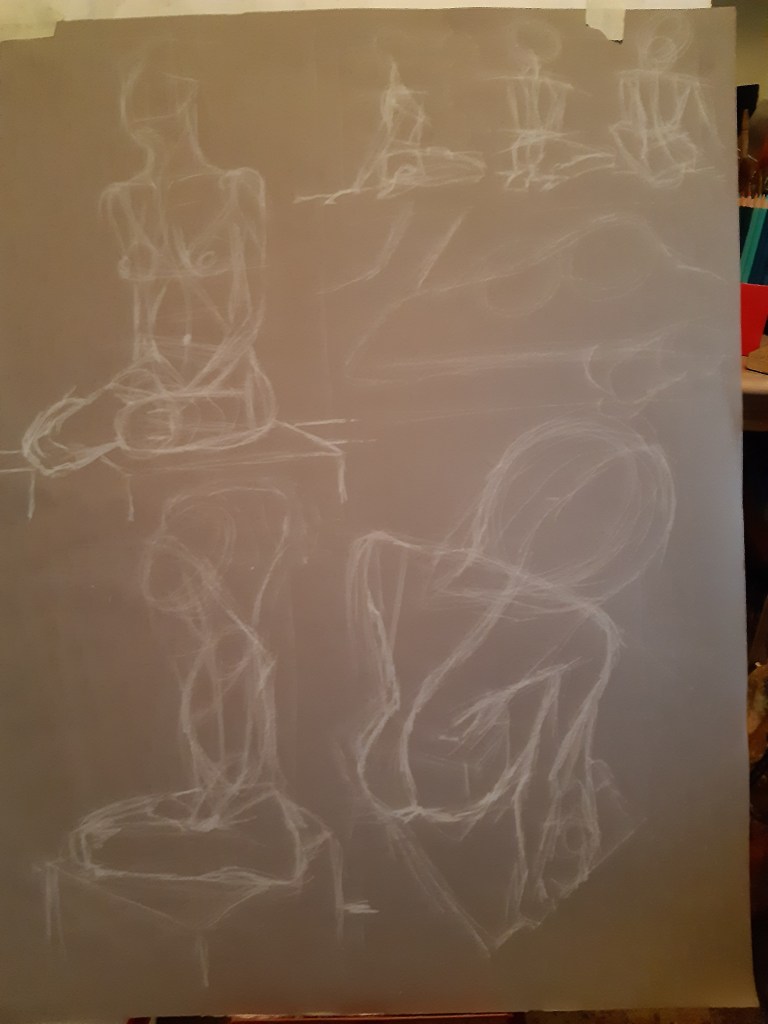
The figure on the right took a while to get correct as the foreshortening is quite mis-leading and I found myself drawing what I ‘thought’ I saw, and not necessarily what I was seeing. This took a lot of rubbing out and re-doing, but it encouraged me to look closer and use reference points with other parts of the body to get the lines and angles right.
From there I wanted to add in some details and practice adding in some shade and tones as I have not had much practice with this and felt I was lacking a bit, so I got my black, white and sanguine contes out and gave it a go.

This I wasn’t too pleased with as I struggles to reproduce what I was seeing onto the paper, but this is just a work in progress that I need more practice with. I ditched the sanguine and tried it with just light, med, dark black and white conte on a final pose.
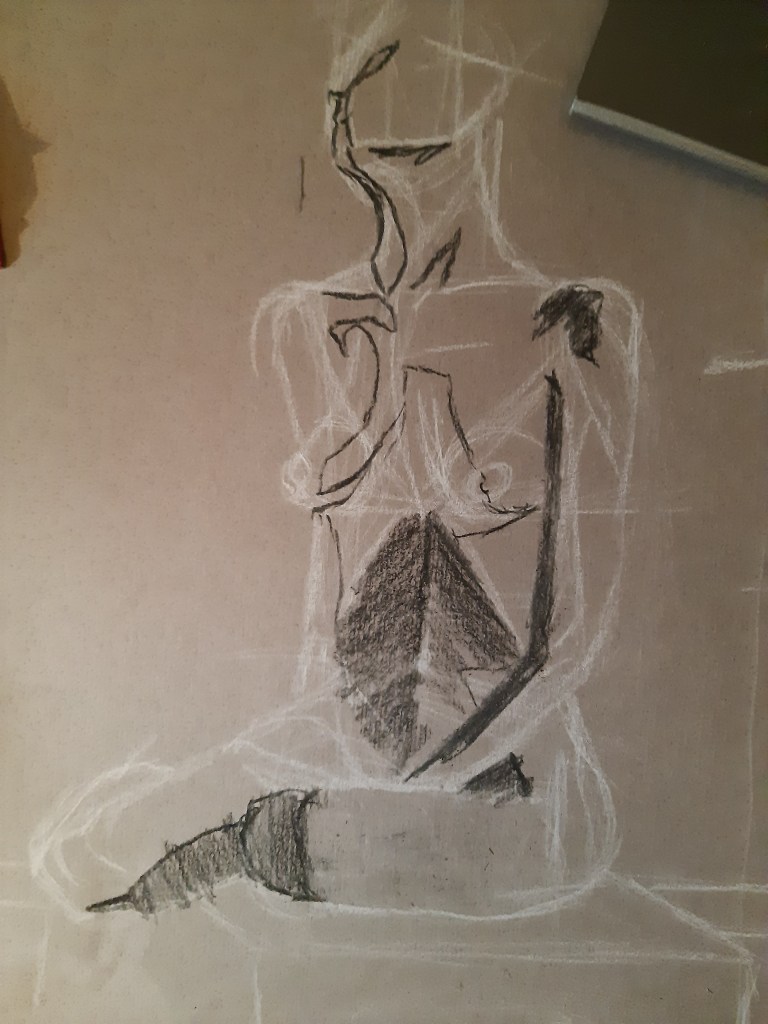


Starting off by blocking the light areas and the dark areas and fading them together I could then build up subtler tones to bring out the depth of the figure in increasing layers.

It was starting to look better but there were a few things I can work on, mainly a faster, lighter stroke will blend more accurately and will result in a sharper image. I also lacked a decent sharpener so I was using stubs of conte that had flat points to them. I don’t think this helped at all. However it was a fruitful exercise which has given me food for thought, and a good direction to take my charcoal figure drawings further.
